

AWS CDK Deployment Guide - Part 2: Deployment
Introduction
In my previous blog, https://www.squareo.com/blog/aws-cdk-deployment-guide-part-1, I discussed the AWS CDK and the minimum permissions required to deploy a lambda solution with the CDK. We also discussed some of the major considerations and benefits of using this AWS tool.
Now, I want to walk you through the actual set-up and deployment of a CDK Project from your local desktop.
Initialization
Before deploying a solution using AWS CDK, you’ll need to set up your local development environment. I will be using ‘VS Code’ as my IDE and am running it on a Windows machine.
Install Dependencies
The CDK relies on the CLI, thus you’ll need to download and install if not already on your local environment.
Download link: https://docs.aws.amazon.com/cli/latest/userguide/getting-started-install.html
You’ll also need ‘Node.js’ installed. Run ‘node --version’and ensure the version is above v18.0.0. If it doesn’t exist, install ‘Node.js’ through the https://nodejs.org/en website.
Configure Credentials
As expected when working with the CLI, we’ll also need to ensure that your environment is configured with the necessary credentials. If you do not have your CLI environment already configured, please refer to the AWS Documentation for setting this up.
https://docs.aws.amazon.com/cli/latest/userguide/getting-started-quickstart.html
Programming Language
This blog is intended to walk you through the deployment of a Python CDK project, thus, you’ll need to ensure that you have Python installed properly. You’ll need at least version 3.9 or later.
Refer to the python website for download and installation: https://www.python.org/downloads/
Install the AWS CDK Toolkit
Now that we’ve confirmed the set-up of the required dependencies and credentials, we need to install the AWS CDK Toolkit. This toolkit is a command-line utility which allows you to work with CDK apps.
I'm beginning this blog in a 'CDK' directory that i created for this project.
Command:
- npm install -g aws-cdk

If it is already installed, you’ll just see specific components being updated. Otherwise, the terminal will display all the packages being installed with npm.
Create an empty directory
This directory will be used to host all project/application related files.
Command:
- mkdir cdk_blog
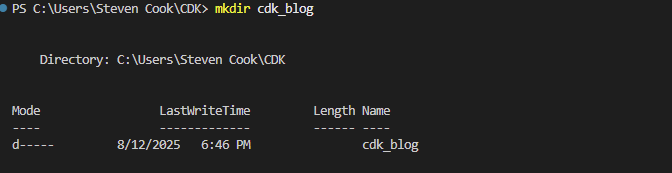
Command:
- cd cdk_blog

These commands create the directory that will hold all application related files, as well as ensuring our terminal is working within this directory.
Create a starting application
Next is to initialize a ‘sample-app’ for our preferred programming language. The project I used this for is written in Python, so I will be following the Python related commands.
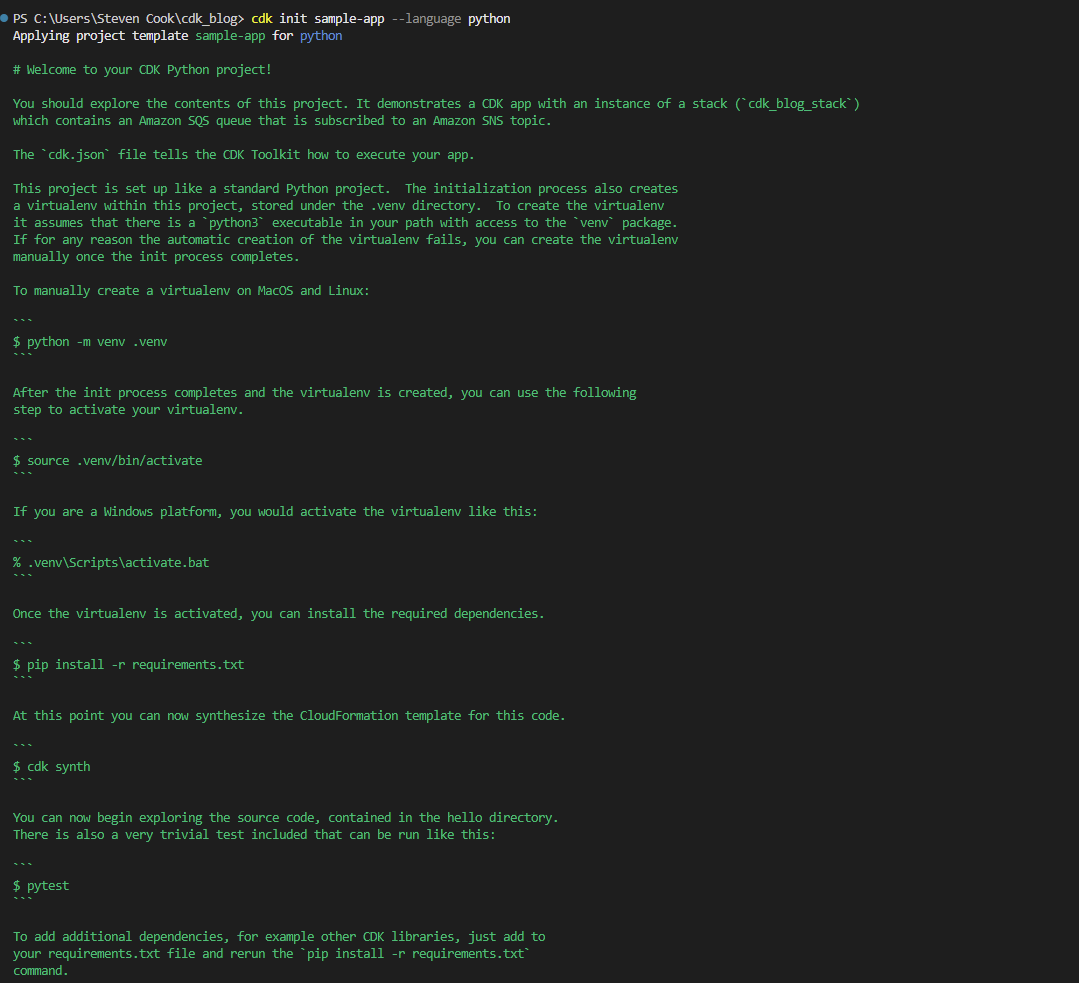
The ‘cdk init’ command is used to create a new AWS CDK project in the current directory from a pre-defined template. By passing the ‘sample-app’ argument, it generates an example CDK application that includes some starting constructs. Here’s a link to the AWS documentation on the ‘cdk init’ command, https://docs.aws.amazon.com/cdk/v2/guide/ref-cli-cmd-init.html, which includes some additional context, arguments, or optional commands.
Refer to the ‘Structure’ section of this blog for additional information on the generated template structure.
Command:
- cdk init sample-app --language python

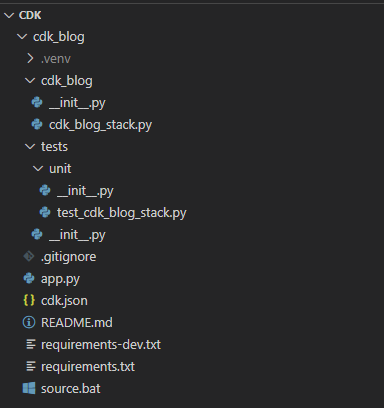
Here’s the directory.
Activate the virtual environment
Command:
- .\.venv\Scripts\Activate

Install the required modules
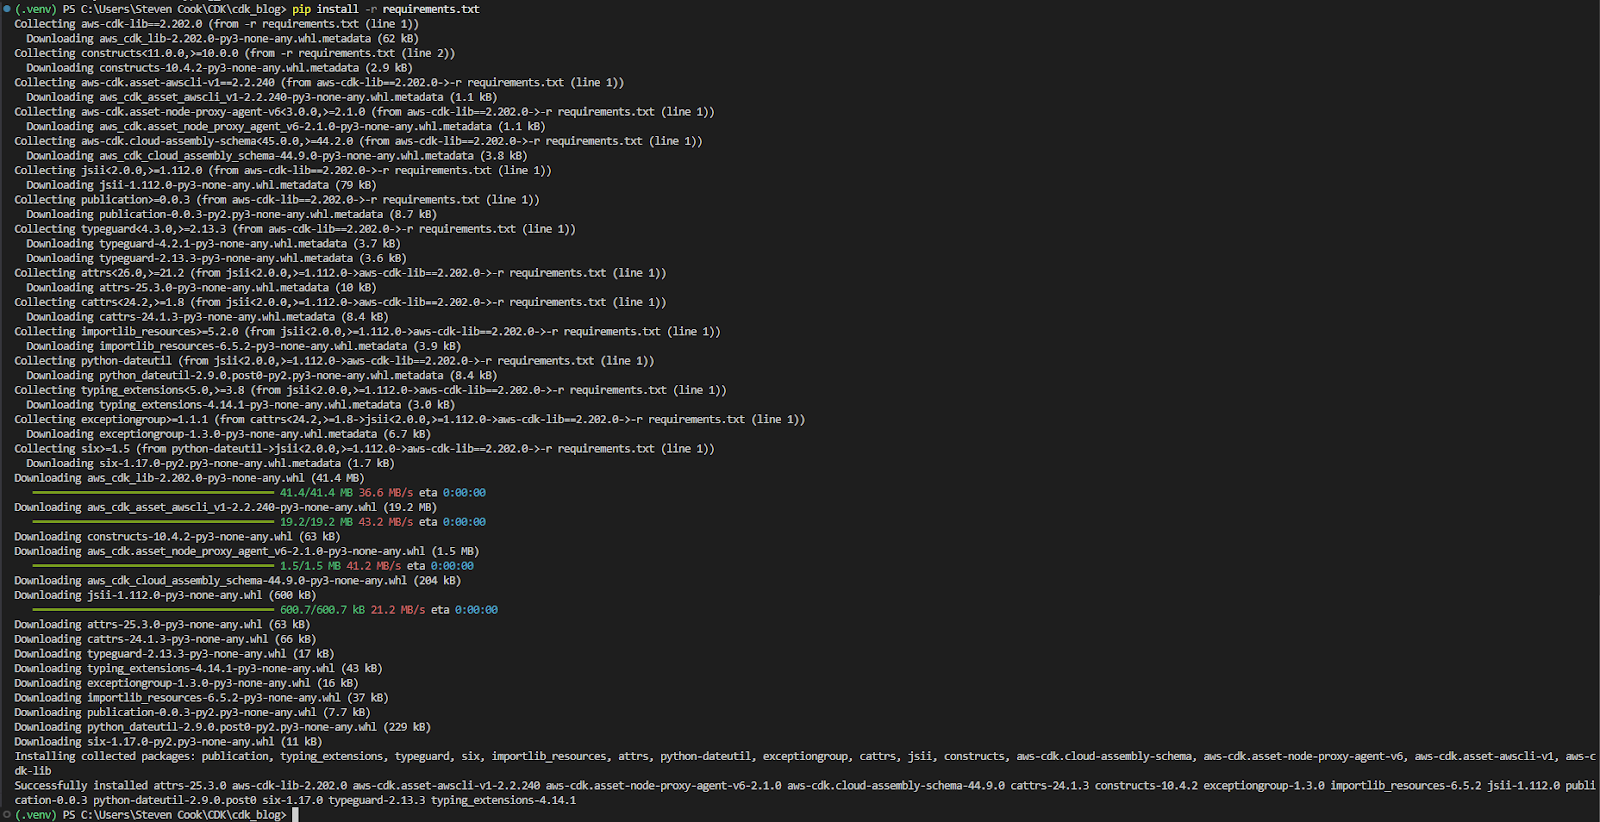
Command:
- pip install -r requirements.txt
Add your lambda code files
Once you’ve got the CDK project set up correctly, you can begin uploading or creating your lambda python files. To do this, create a new folder in the main ‘cdk_blog’ directory and name it ‘lambda’ (Note: This folder can be name as you prefer, just ensure that you reference it properly when adding to the stack.)
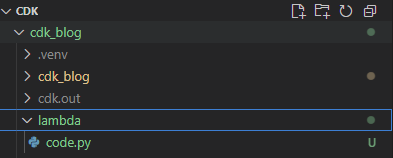
Within this folder, create a python script and name it relevant to your project. For me, I’ll just be naming it ‘code.py’.
Add the Lambda Function to the stack
Once the code file has been created, we need to instruct the CDK to include it within it’s deployment. In the ‘cdk_blog/cdk_blog_stack.py’ script, add something like this. We essentially need to add ‘lambda’ to the import statement, as well as the class responsible for stack configuration.
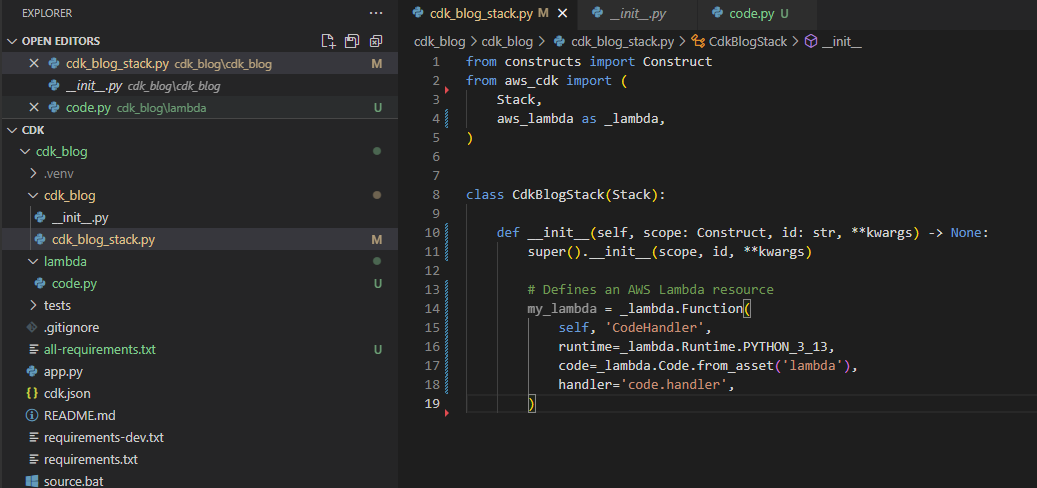
In the screenshot above, the line 'code=_lambda.Code.from_asset('lambda')' is where you reference the folder containing the code. If you went with your own naming convention, update 'lambda' to the name of your folder.
Structure
This section is to provide a sense of what a sample lambda project structure would look like. For me, this helps to better understand how the CDK is configured and functions.
- CDK – Top level project folder
- cdk_blog/ -- CDK Application Module
- .venv/ -- Python virtual environment
- cdk_blog/ -- Where you stack is located
- __init__.py
- cdk_blog_stack.py – Defines the CDK stack and infrastructure resources
- lambda/ -- Lambda function code (created manually)
- code.py – The actual Lambda function logic
- tests/ -- Unit tests for your CDK stack
- unit/ – Grouped tests
- __init__.py
- test_cdk_project_stack.py – Tests for verifying stack contents
- unit/ – Grouped tests
- .gitignore – Files and folders to ignore in version control
- app.py – Entry point for the app. Loads and instantiates classes from defined stacks
- README.md – Project overview and setup instructions
- Requirements-dev.txt – Developer dependencies (e.g., pytest, black)
- Requirements.txt – file is used by pip to install all dependencies for your application
- Source.bat – (Optional) Windows batch file to activate virtual environment
- cdk_blog/ -- CDK Application Module
Deployment
Performing any CDK commands requires being in the correct folder, and having the virtual environment created/active. Once this is done, deployment steps can be completed.
Output and Validate the CloudFormation Template
Run the ‘cdk synth’ command, which will output the cloud formation template generated by our project. In the output, we are able to review and understand what the cdk will create upon deployment to an environment.

Bootstrap an environment
You’ll need to install a ‘bootstrap stack’ the first time you deploy a CDK app to an environment, this ‘bootstrap stack’ contains the resources needed for CDK operation.
Command:
- cdk bootstrap --profile SQUAREO-MFA

Note: You only need to run ‘cdk bootstrap’ once per AWS environment (per account + region). This sets up resources like asset buckets and roles used by CDK for deployments.
Deploy
Now that you have the bootstrap environment set-up, we can move forward with deployment. Run the command, ‘cdk deploy’
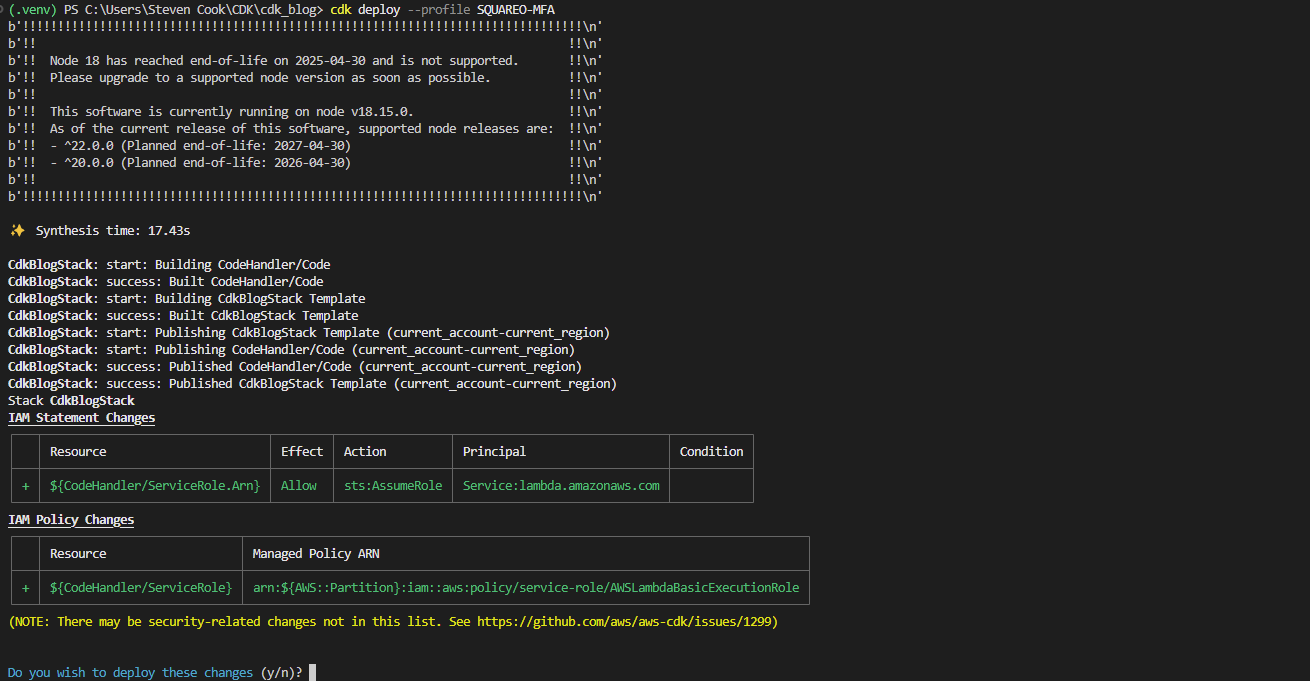
It will prompt you to confirm deploying these changes, type ‘y’ and enter.
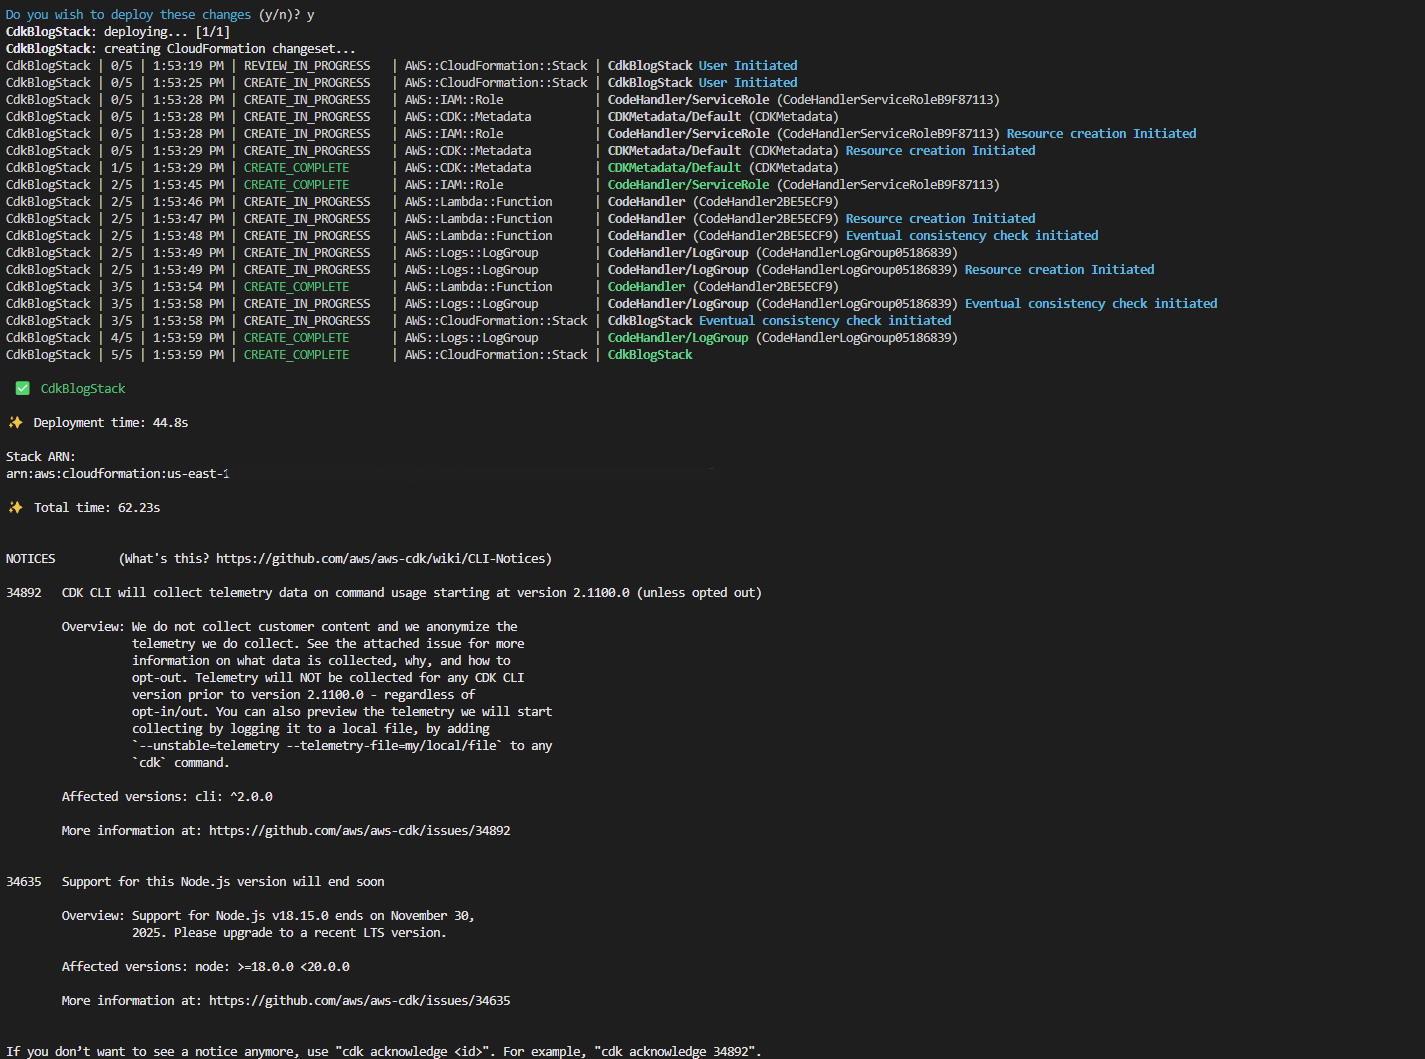
Congratulations! You’ve deployed your lambda app. Let’s just take a quick look into the console to make sure it deployed correctly.
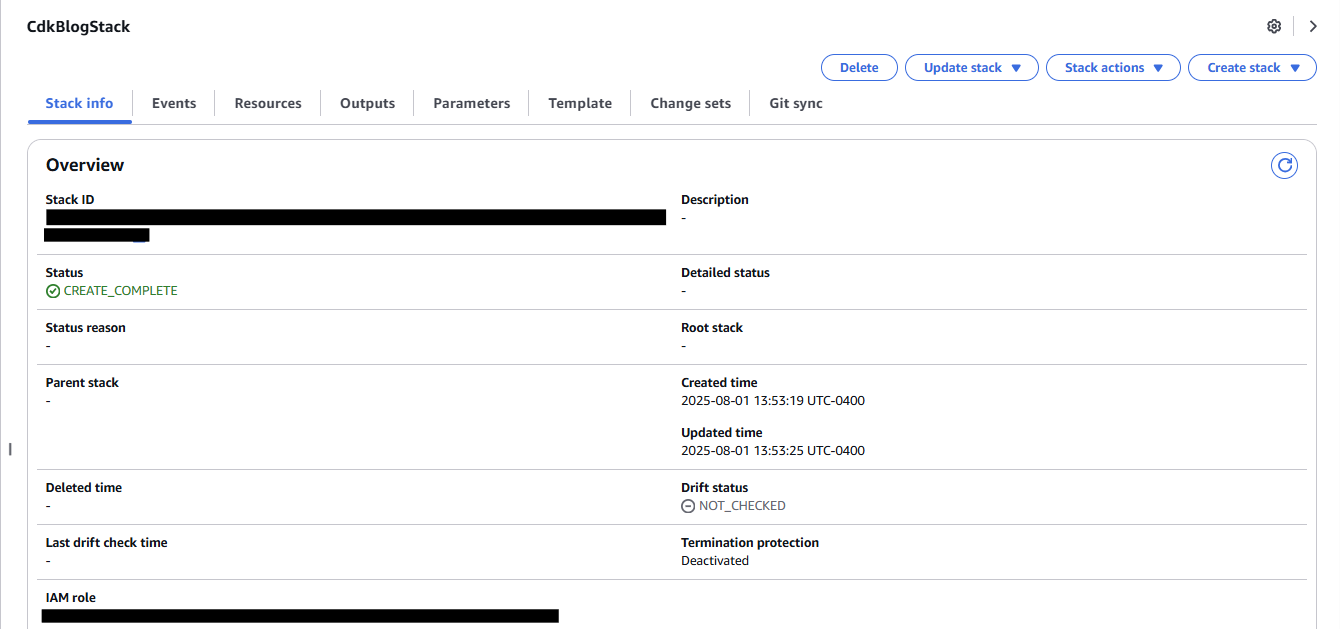
Navigate to the ‘CloudFormation’ console and go to ‘Stacks’. Here, you should see your recently deployed CDK stack. It’s important to recognize that the CDK uses CloudFormation to deploy it’s resources/apps, meaning we can always use the CloudFormation console to check in and even help manage CDK deployments.

When selecting your particular CDK stack, you’re able to view the status as well as other valuable information.
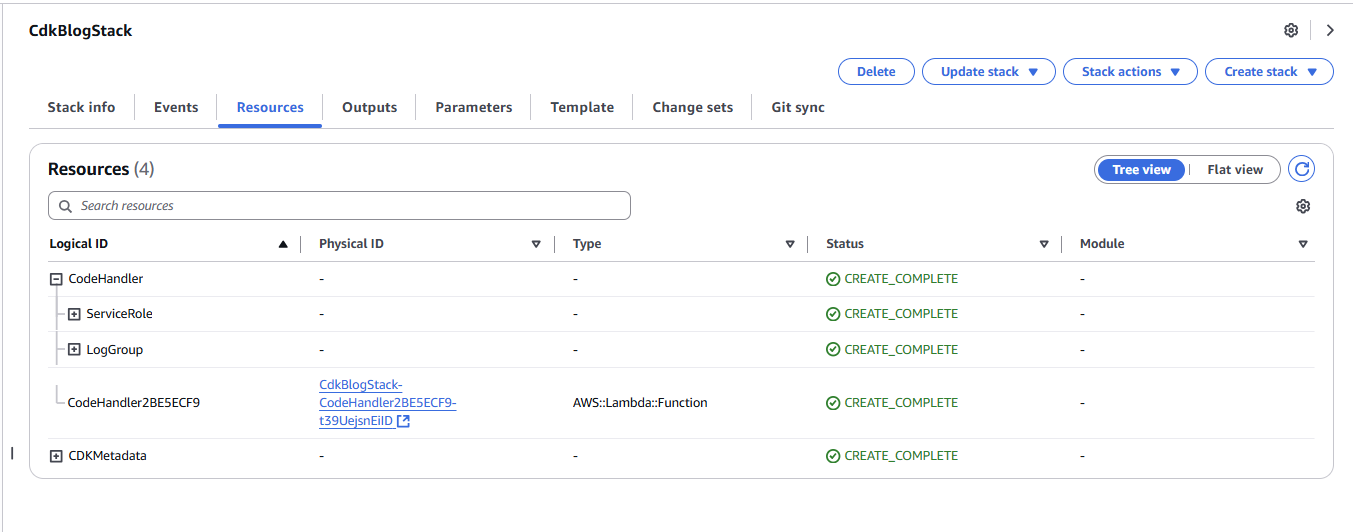
The ‘Resources’ tab is a good place to identify/confirm all of the resources deployed within this stack.
Documentation
Here is some documentation that is helpful in understanding the CDK and its capabilities:
- https://docs.aws.amazon.com/cdk/v2/guide/home.html
- https://docs.aws.amazon.com/cdk/api/v2/
- https://docs.aws.amazon.com/cdk/api/v2/docs/aws-construct-library.html
Conclusion
At this point, you’ve taken a full walk through on setting up, organizing and deploying an AWS CDK Lambda project from your local machine. Whether you are automating lambda deployments, or orchestrating more complex infrastructure, the CDK helps you adopt best practices like version control, repeatable deployments, and environment bootstrapping with minimal friction.
Once you become familiar with the project structure and deployment workflow, you’ll find that using the CDK can dramatically streamline both development and operations, as the AWS CDK is a powerful tool for provisioning and managing infrastructure as code. You can create scalable, secure, and repeatable deployments that align with your organization’s goals.
~ Steven Cook
Transform Your Call Center Strategy
Unlock the Potential of Your Call Center Operations with Expert Consultation